
Today it is my turn to update the BnW Advent Calender.
Please take a look here to get the chance to win a stamp of your own choice.
I want to show you how to make a chocolate box card.

You need: cardstock, pattern paper, glue, gelantine, spellbinders dies, score pal, a paper cutter, pencil, scissors and embelissments

I begin with the card.
Use a cardstock 24,5cm x 15cm
Score at 11cm and 13,5cm.
Fold the card

Now it is time for making the box inside the card.
Use a cardstock 22cm x 20cm.
On the longest side of the box I score at 8cm, 10cm, 18cm and 20cm

On the shortest side of the box I score at 2cm, 4cm, 16cm and 18cm

Here is a picture of the scored lines (I have used a pencil to draw the lines so you can see them better)

Then cut of the cornes as you can see in the picture above.

I distress all the edges on the box and the card.

I also distress the pattern papers I am going to use inside the card, before I glue the parts together.

Then it is time to make the window in the box, inside the card.
I use a spellbinder dies as a template and draw the shape on the pattern paper.

Then I use a scissor to cut ut the window.

Here you can see the pattern paper after I have cut out the window.

I cut a square in the box and glue a plate of gelantine to make a window.
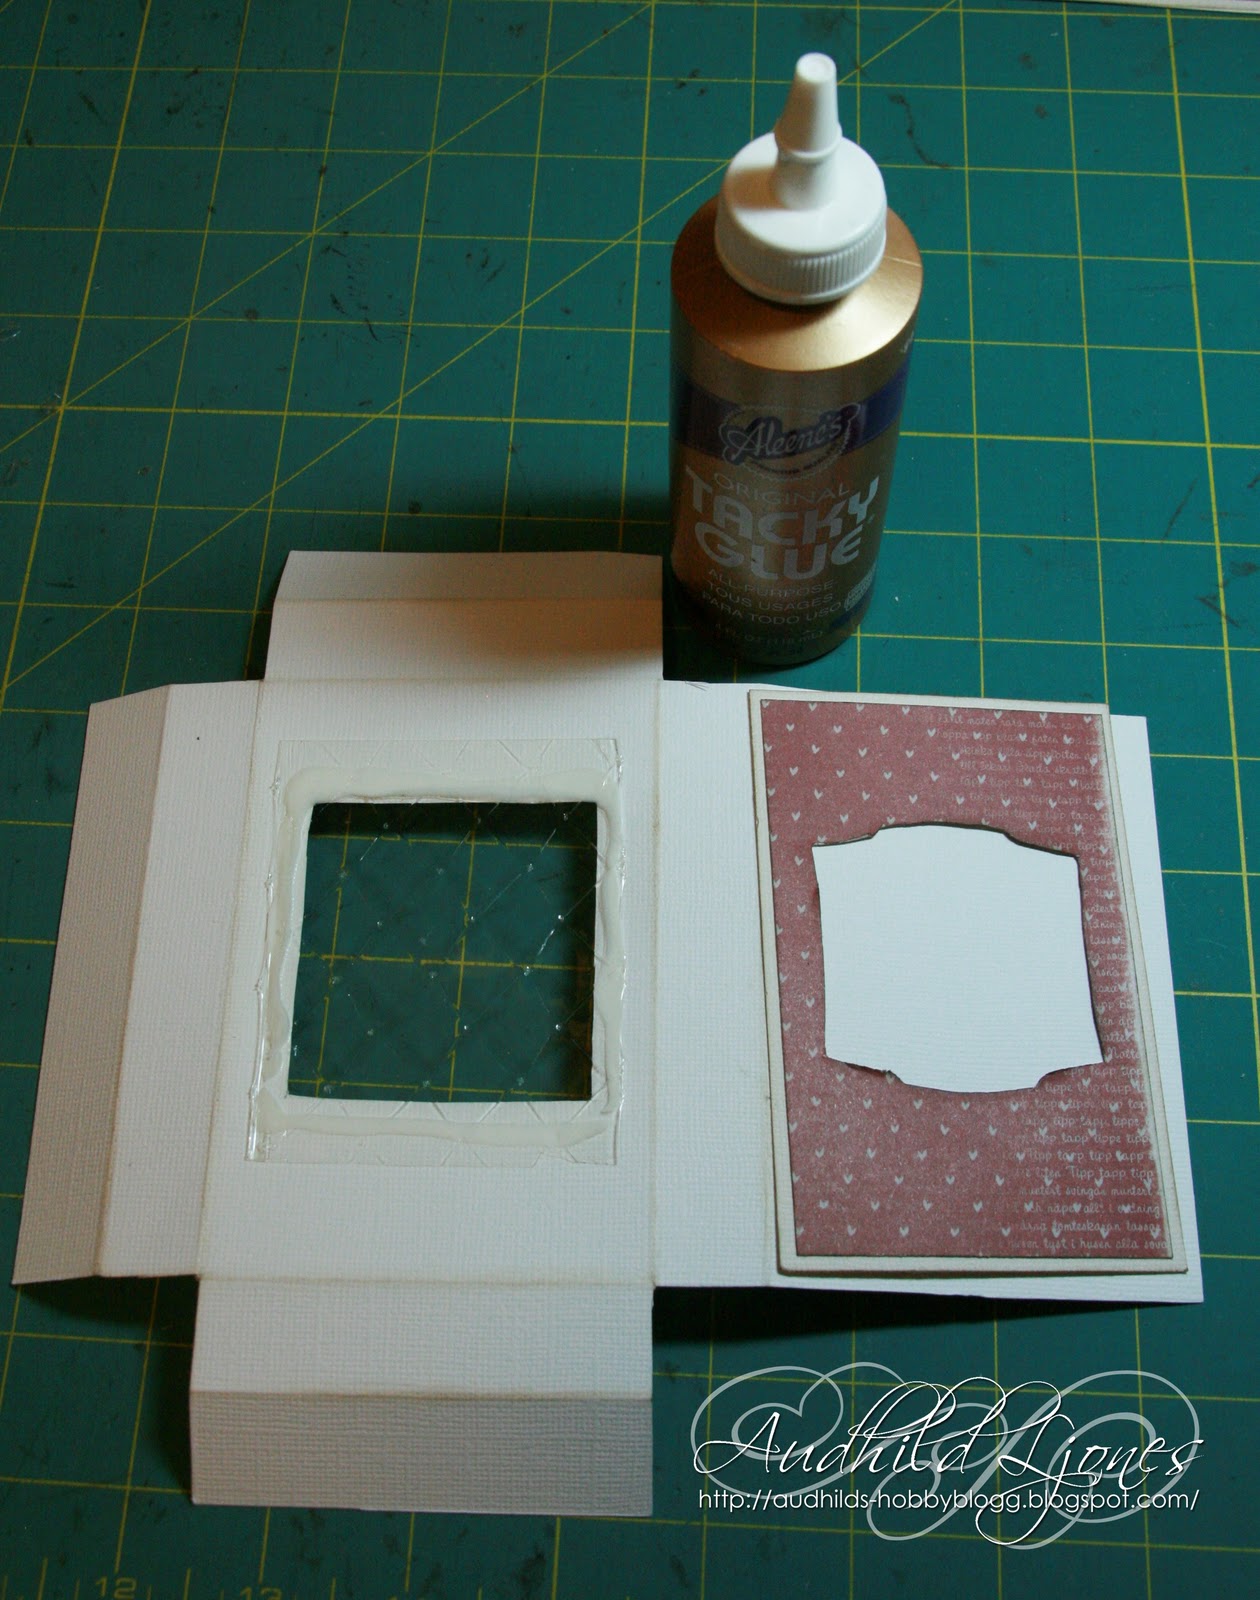
Glue the pattern paper over the gelantine window. Glue the box together, and put it inside the card.
Remember there has to be an opening at the top of the box, so you can put chocolate inside.

Then it is time to decorate the front of the card.

Here is the inside of the card. I have used spellbinder dies to make a frame so you can write greetings.
I have also cut out a frame and placed it over the gelantine window

Thank you for visiting
Hugs Audhild


